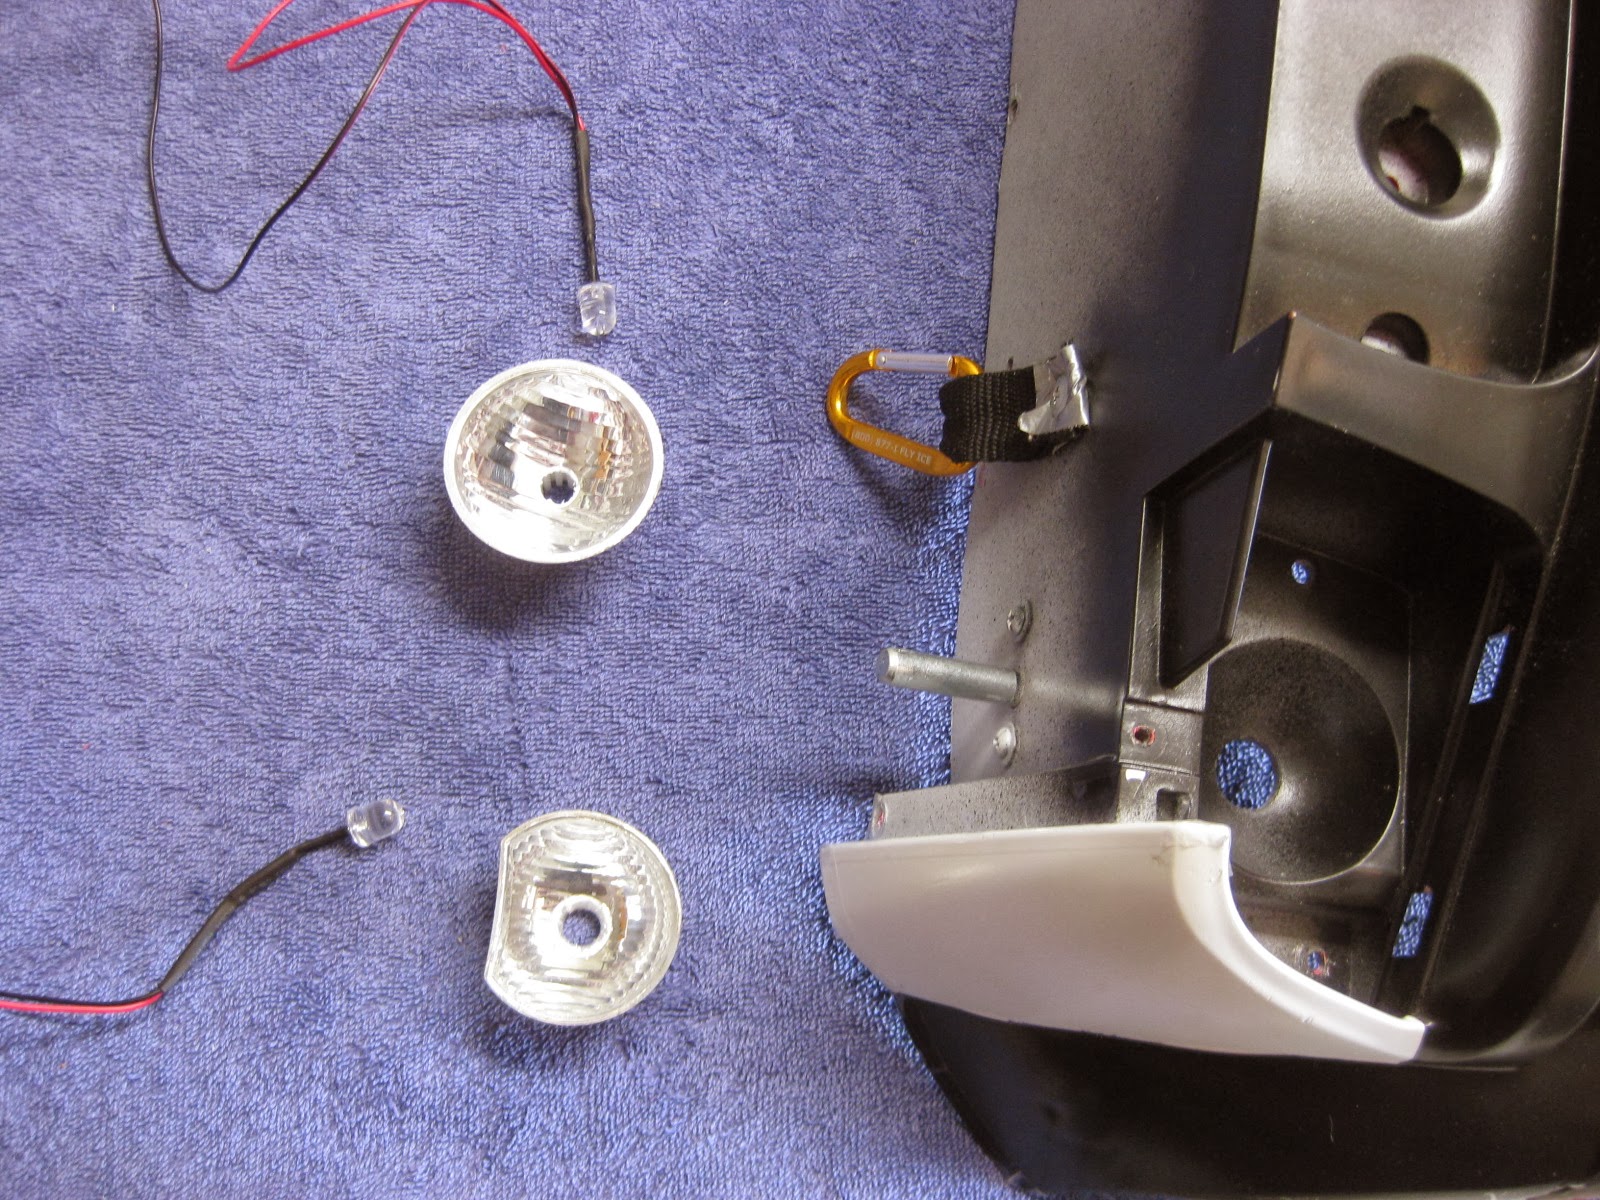
Finished installing the LED lights.
Runs off two 9volt batteries.
Two switches: one for the headlights and taillights, the other for the red/blue flashers, one LED on each taillight flashes with the red/blue also.
Considering a future upgrade that will involve a siren with flasher LED's.
Wednesday, October 23, 2013
Sunday, October 13, 2013
Helmet Fan Complete
Finished helmet fan installation with 9 volt battery and on/off switch.
Soldered wires together and coated connections with glue gun.
Battery can be replaced by removing top plastic cover again.
Came up with a new way to attach face mask to helmet rather than having an elastic band around my head which was too tight.
I riveted plastic tabs on the top of mask that insert inside helmet slots, and then use a short piece of elastic looped onto screws to hold mask in place.
This way the mask stays attached to helmet and slightly tilt to adorn helmet and mask in one piece.
This new way of attaching mask also allowed for the helmet fan to blow air onto eyes to reduce fogging up.
Friday, October 11, 2013
Lights Update
Glued LED's into headlight sockets and shaped the red/blue plastic covers on front grill.
Originally was going to glue-gun the red/blue plastic covers into place, but decided to go with screw mounts in case the LED needs to be changed out.
Also ordered more wire-to-wire connectors and 22AWG wire.
Originally was going to glue-gun the red/blue plastic covers into place, but decided to go with screw mounts in case the LED needs to be changed out.
Sunday, October 6, 2013
Lights Kit
Received the lights kit package in mail today.
Hooked up a 9 volt to verify all LED's work, very bright.
The kit came with a total of 16 LED lights, 8 white and 8 red, a 9 volt connector, on/off switch, and flasher strobe resistor.
Now to find some cheap crimp connectors and maybe some heat shrink tubing, and get started on installing lights for Halloween.
Thursday, October 3, 2013
Helmet Patch
Removed the old battery pack from back of helmet and covered with a white plastic plate.
The battery pack was pushing against the back of my head.
By doing this I gain about 3/8 of an inch more room inside helmet for my fat head with foam padding.
The battery pack was pushing against the back of my head.
By doing this I gain about 3/8 of an inch more room inside helmet for my fat head with foam padding.
Helmet Fan
During the Charticon convention I had minor complications with breathing under the mask and the eye lenses fogging up.
After watching some YouTube videos and reading forum searches, I got a few ideas to install a small cooling fan inside of the helmet.
Found a perfect mini-fan and 9volt battery connectors at Radio Shack.
The helmet I used originally came with a on/off switch, that still works and would fit on back of helmet.
I drilled vent holes on top of helmet ridge cap for air intake, and a hole below the fan for airflow into helmet.
During installing of switch, I had to re-glue a plastic piece that came separated.
Subscribe to:
Posts (Atom)


